With winter passing the weeds had taken over the bush garden causing the pea gravel to get further buried under the sand.
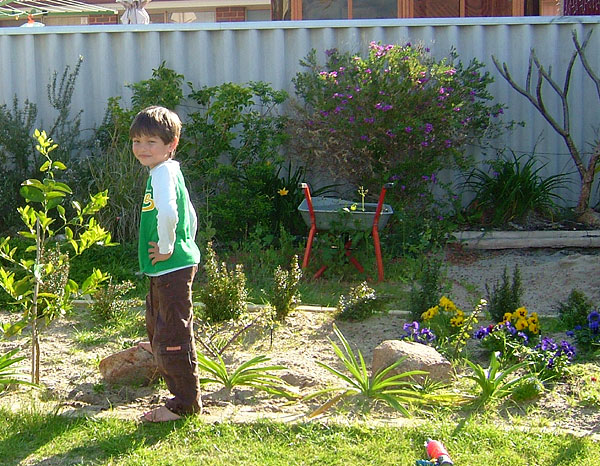
Unfortunately I had not taken photos of the project at this stage so I cannot show you what the garden looked like when I moved in or what the bridge over the old pond looked like. I do have a photo of Cameron by the new garden bed, the overgrown bush garden in the background.
With spring and the weather starting to get warmer I was more motivated to return outside and with the school holidays at the start of October I made a push to try and get finished before my birthday in the middle of the month.
The first part of the project was to clear out the weeds and all the pea gravel. This was done by using a fryer basket that I had bought from the supermarket and shovelling the sand and gravel through it putting the sand into a big pile and the gravel into the wheelbarrow.
Some of the sand I had already used to make a rock garden at near to the back bedroom windows and also had spread on the new garden beds to raise them up a little. The rest was used to level out the garden.
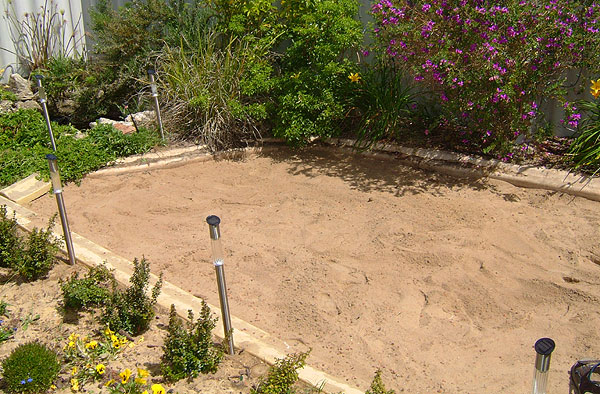
With the garden finally cleared out it was time think about the actual construction of the pond.
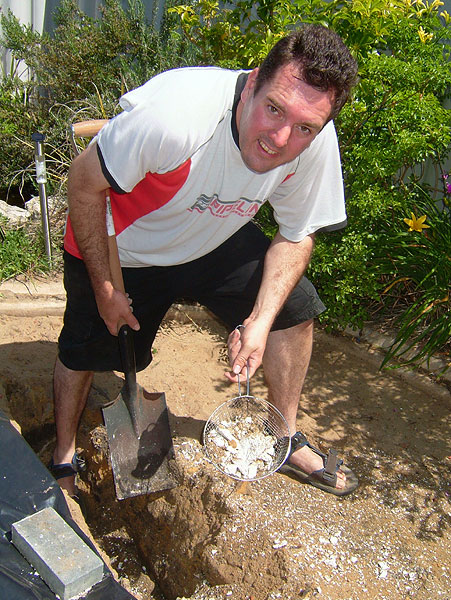
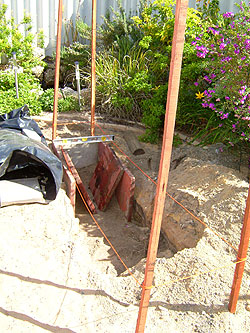
Starting to dig I discovered that, during the building of the house, the plasterers had buried the excess plaster in a hole, right where I wanted to put the pond. It was quite a large thick chunk but thankfully easily broke up when smashed with my shovel.
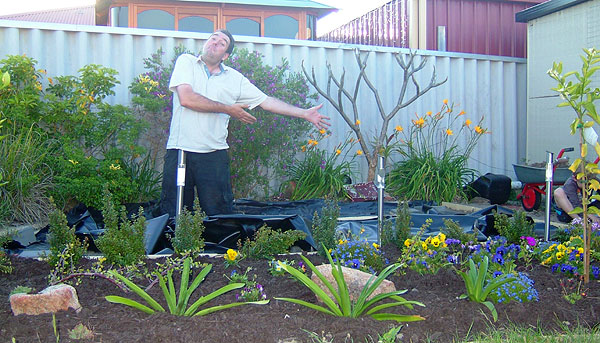
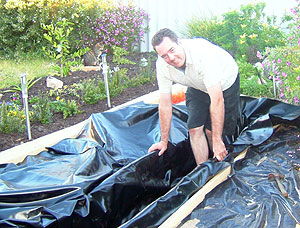
With the plastic down, the pond is really starting to take shape.
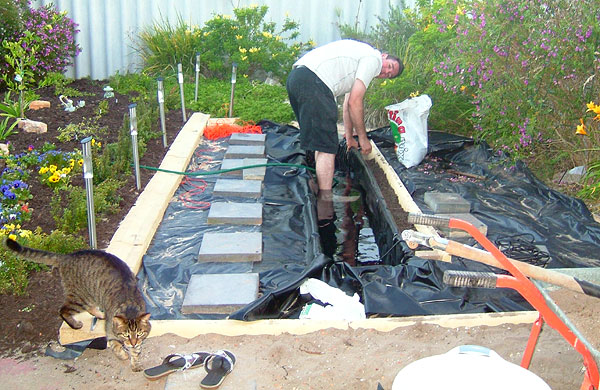
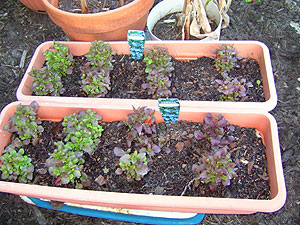
To get the pond liner to form its shape, the next stage was to fill the pond. I also took this time to plant the lobelia seedlings.

